Bonjour !
I hope you are good this is the last days of November and I’m really itching to decorate the tree. But before that I have a big event next week and I must get ready for my first convention in almost 10 years!
The venue is a medium small convention in a small town an our away from where I live and I will be sharing the booth with Mefisheye. The convention will be over the weekend and we are allowed to come the Friday afternoon to install the stand. And it’s time to get ready for this convention!
Preparing products!
Since we will be tabling, we do have to have products to sell during the convention. This venue only allow products under 20€ to be sold for the kind of stand we picked. It means that we will have to prepare cheap art products like :
- Prints
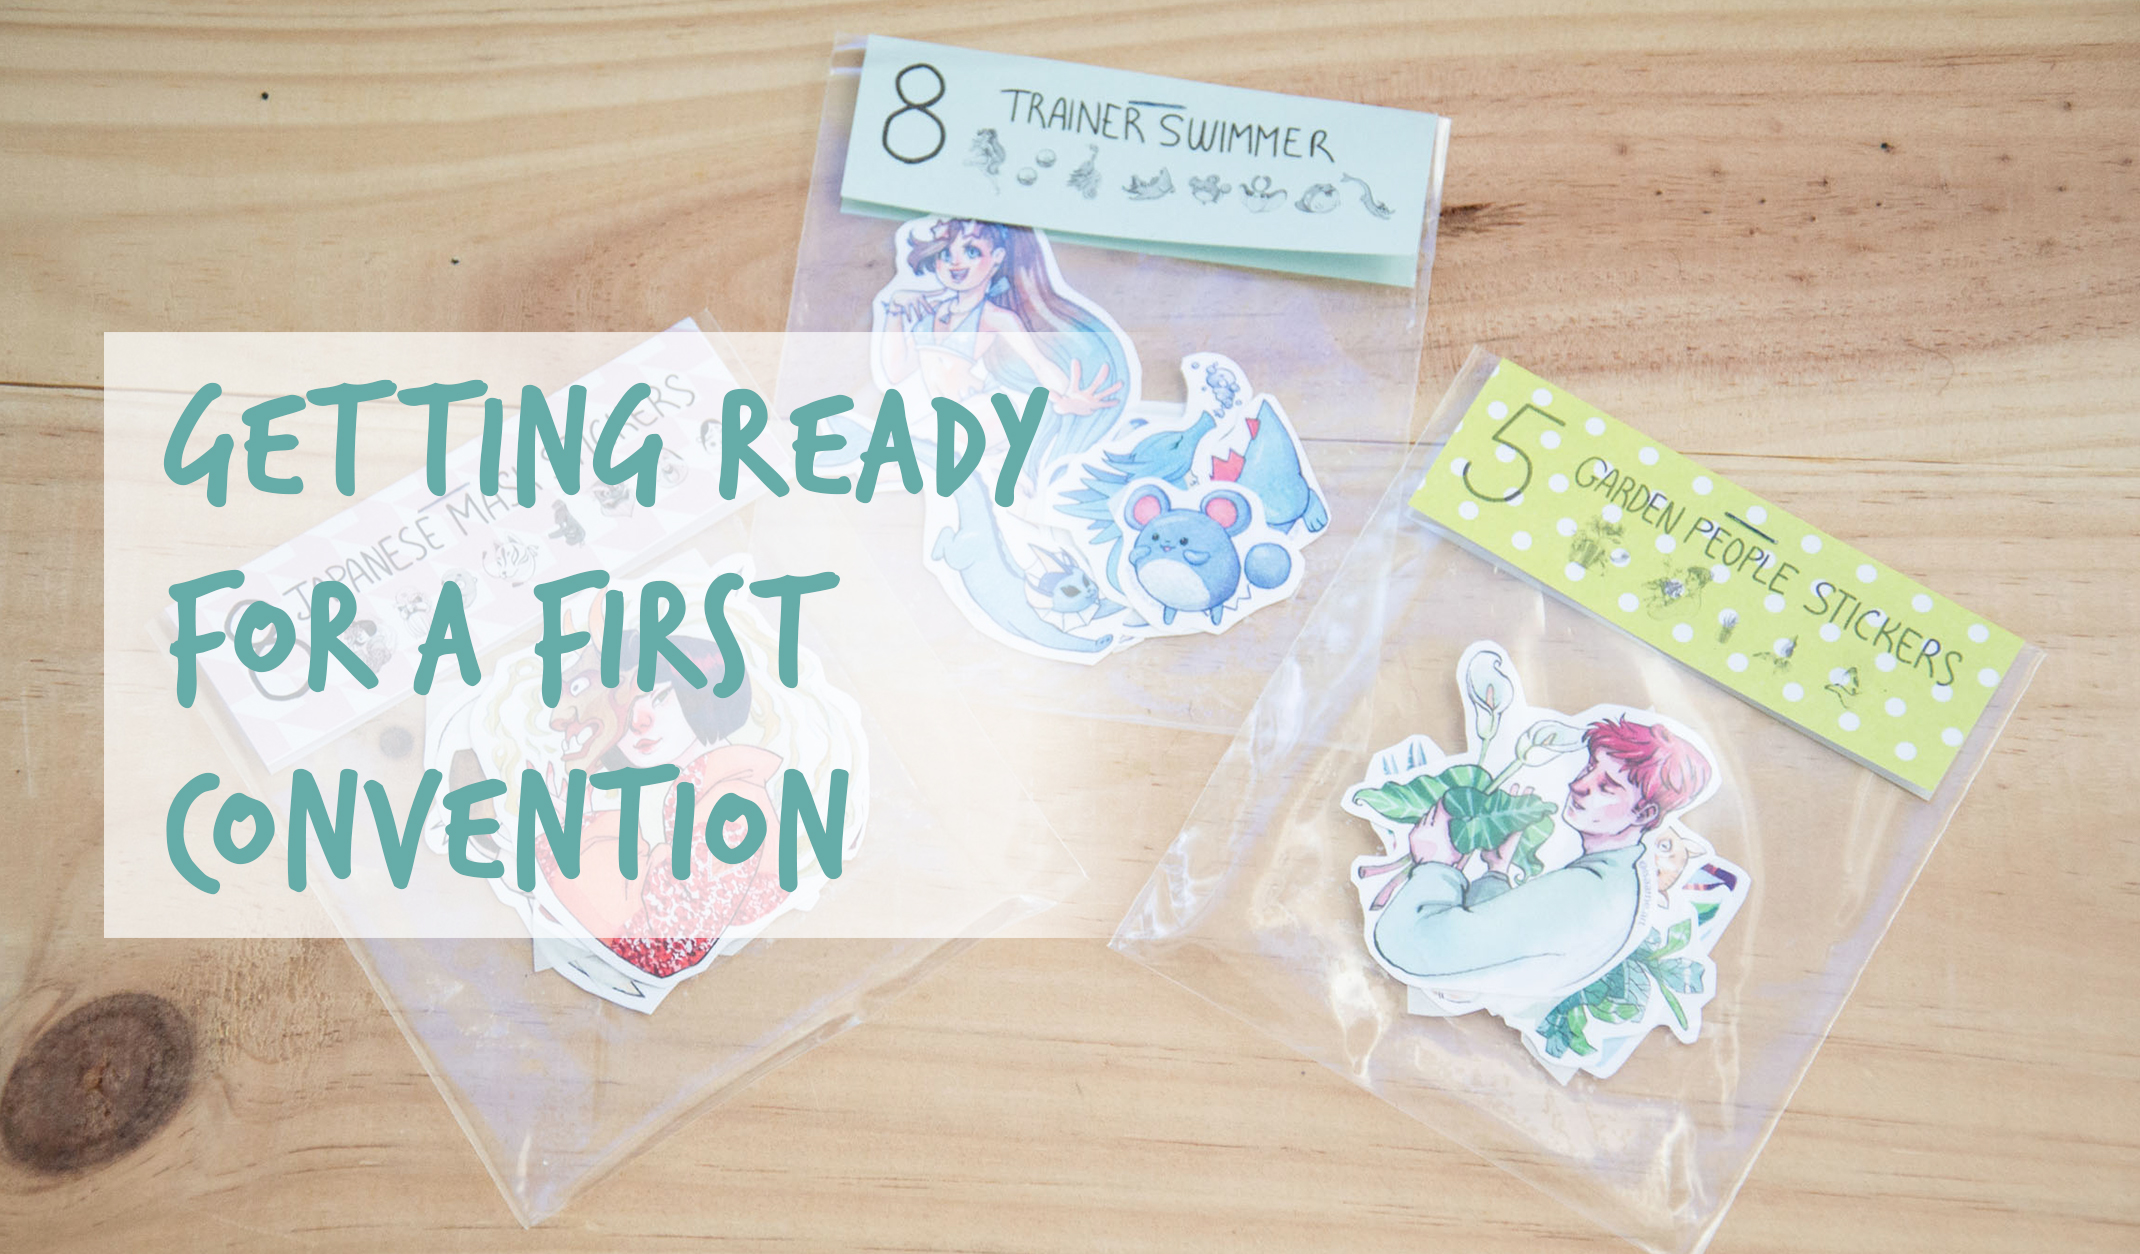
- Stickers
- Handmade sketchbooks
- Linocut prints
- Enamel pins
- Original artworks
I had a few more ideas but since I’m still not 100% sure of what will come out of this (I’m talking about some print on fabric experiments that I am not sure will come out great).
Preparing prints
This require first illustrations, that I did during Inktober for the most part. And I had planned on printing them at home, since I have a very nice Canon printer that does a really nice quality of print. I had a few difficulties with the paper I picked because it turned out the quality paper I had chosen gave print of very bad quality. I just changed it, it’s ok, it can happen.
When creating products you are expected a few loss.

Printing and cutting stickers.
Stickers are my little pleasure, I love to stick them on my sketchbooks. So if I can share the love I will!
For these ones as well I used my printer on vinyl paper. The hard part was the cutting as it is all homemade but it is part of these little repetitive tasks that makes creating products so satisfying.
For the designs, in my Etsy shop I already have 2 types of designs available so I didn’t have to create much for the convention. I just created one new design with a geek theme since the convention organisation explicitly asked to have geek themed artworks to sell. And you know me I don’t have many of those…

Making handmade sketchbook
Creating little sketchbooks to sell is kind of an experiment but also kind of a little pleasure as well for me? I love sketchbooks and I love making it myself, picking the paper, designing the cover and I actually already made a bit of experimentation a while ago. So I just made a few to test the market.
Getting linocut prints ready for the convention
Linocut prints is also kind of an experiments, firstly because my linocut prints are very non geek related and maybe it won’t fit with the public there. But also because as with every item here I am trying to find out if there is a market for it in this kind of convention. Creating these was very easy since I had all my linocut prints already!
When I did my travel series two years ago I actually never went to the point of selling any print. So let’s see how it goes.

Packaging enamel pin for the convention
The Kickstarter is now ended, and as I told you in my post about the Kickstarter success, I received my first design of enamel pins. After sending the polls to my backers to know what pins they would like I still have a few pins that I can sell.
Some are for my etsy shop customers because I know the pins has had a lot of success there. I just want to packaged it differently for it to be more attractive to event shoppers. I will package the enamel pin in opaque tissue paper for the backers but for people window shopping like on a convention, I thought it would be nicer to put the enamel pins in clear bags.
It fit quite well that I have leftover compostable clear bags from my sticker packaging. So that’ how it turned out:

Selling original artworks at a convention
This one I’m kinda torn, as I told you the maximum price allowed for me is 20€ and there isn’t many original that fit in that price range. I managed to do tiny watercolors that fit that price. I will be selling the original art that I made into stickers.
To have the original artworks ready for the convention, I bought some frames in a local garage sale. It’s a lot cheaper than brand new frames and often there is new or close to new frames. So it’s a really good way to make everyone happy.
It’s really nice to see these little watercolor framed.

Presenting your products on the table.
Now that you have all your products, you have to present everything on a table. This I will have to do a test before the big day. I am planning on doing it this weekend so there isn’t much I can say about it now, but I’ll be sure to talk about it when I can with some pictures as well!
During this convention I want to test the market, see how my artworks are received and what kind of products has the most success. I can understand that testing the market and starting convention is hard. Especially because you don’t know what will sell and it is one of the reason why I have prepared such a wide range of products.
I will be very glad to share my experience with you in the future and in another article!
The convention is the BGF Winter and I will be there (pour toi français qui ne lit certainement pas cet article!) :

Thank you so much for reading this long post!